

The next big task was to install the three new windows. We are replacing three double hung windows, one from the original kitchen and two in what used to be the dining room. The window in the kitchen is being replaced with a shorter casement window. The original window sill was so low that we could not place a counter under the window. The new window will allow for the countertop to run underneath the window.
The framing for the original window would not pass inspection under current codes so I had to tear out all the old framing. Actually, I don't believe that the framing should have passed inspection when the house was built. The problem was that the header was not properly supported. The header is the frame member above the window and it is responsible for bearing the weight that would be carried by the wall studs where the window is located(if there was no window there). Since you have to remove the studs in order to place the window you need something to carry the load. This is done by the header. Since this wall is on the first floor of a two story house and is loadbearing this header helps carry the weight of the second floor. Each end of the header should sit on a trimmer stud which carry the weight of the header. In this case the trimmer stud was in place on the right, but not on the left as you can see in the pictures below. I don't think this has ever been legal, if any of the construction gurus on either side of the family know different let me know.
Since we had to tear out the old framing and the wall is load bearing we had to construct a temporary wall to bear the weight of the floor above while the old framing was torn out and the new framing installed.
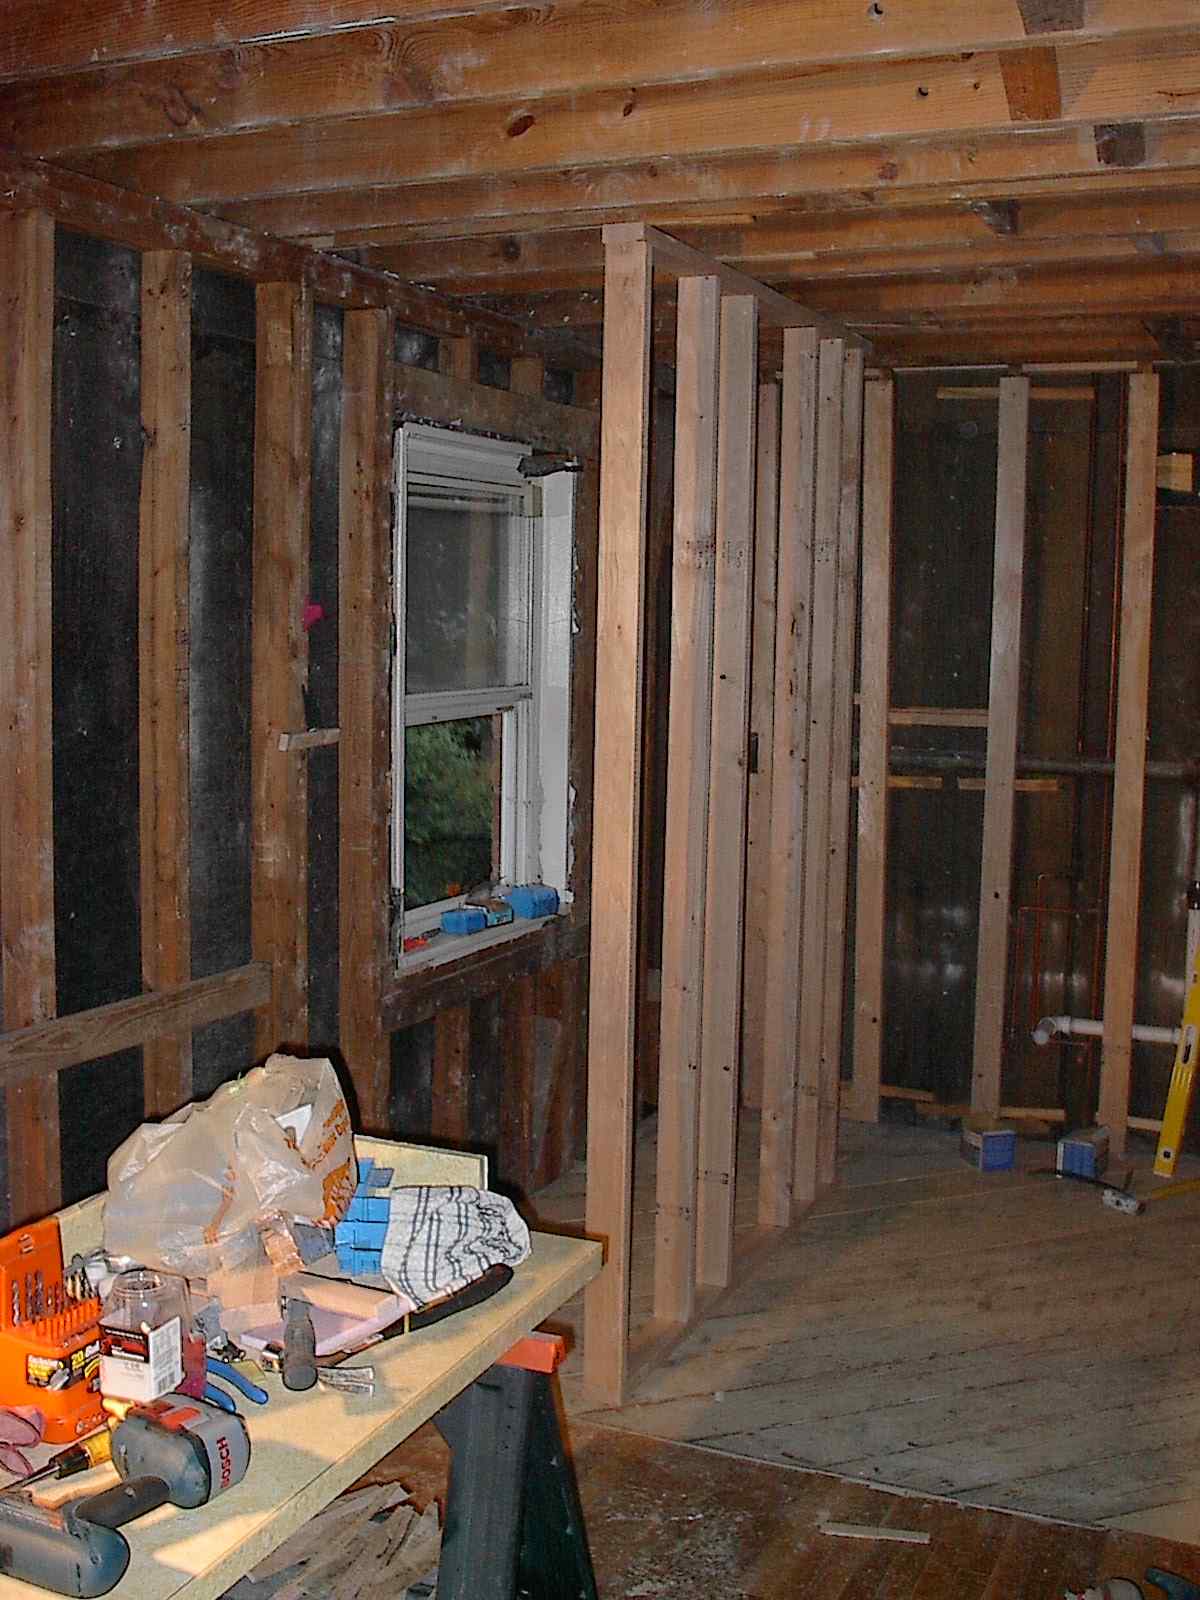
Here is a picture of the temporary wall with the original window in place.

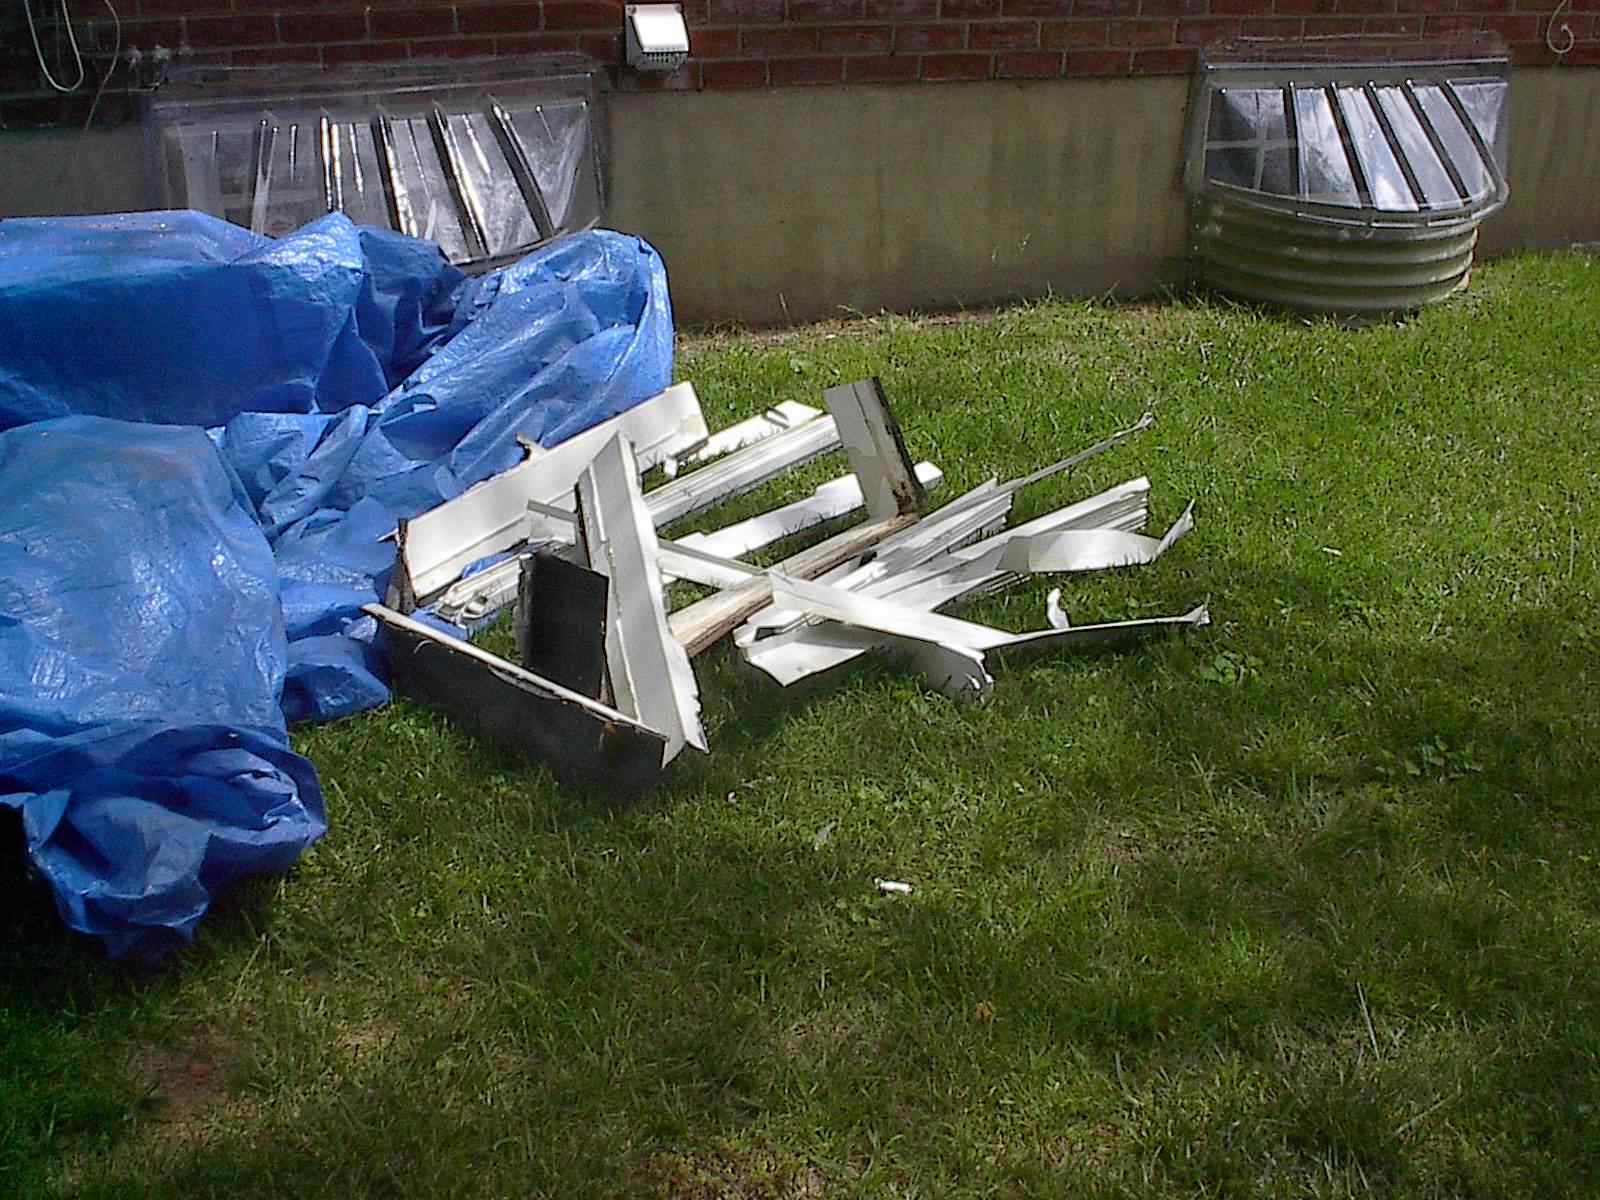
Here is what was left of the old window after we finished tearing it out.
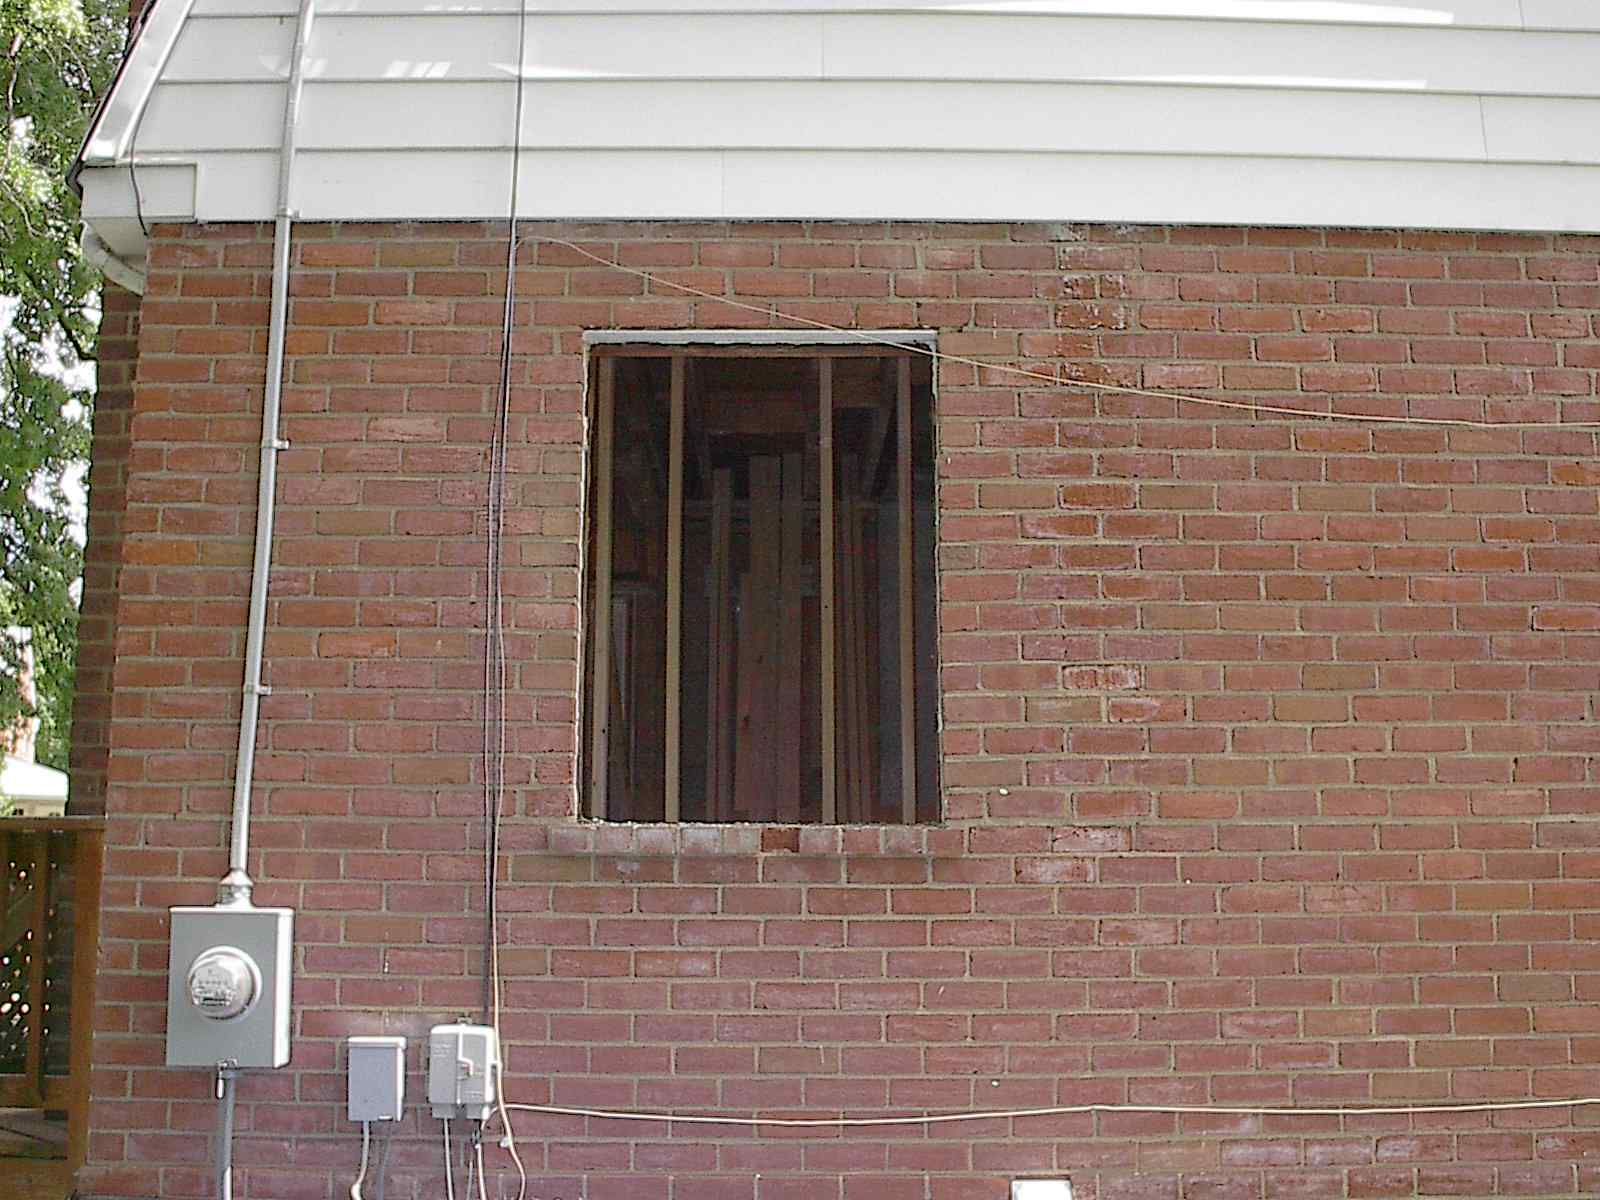
 And here is what the window opening looked like from the outside
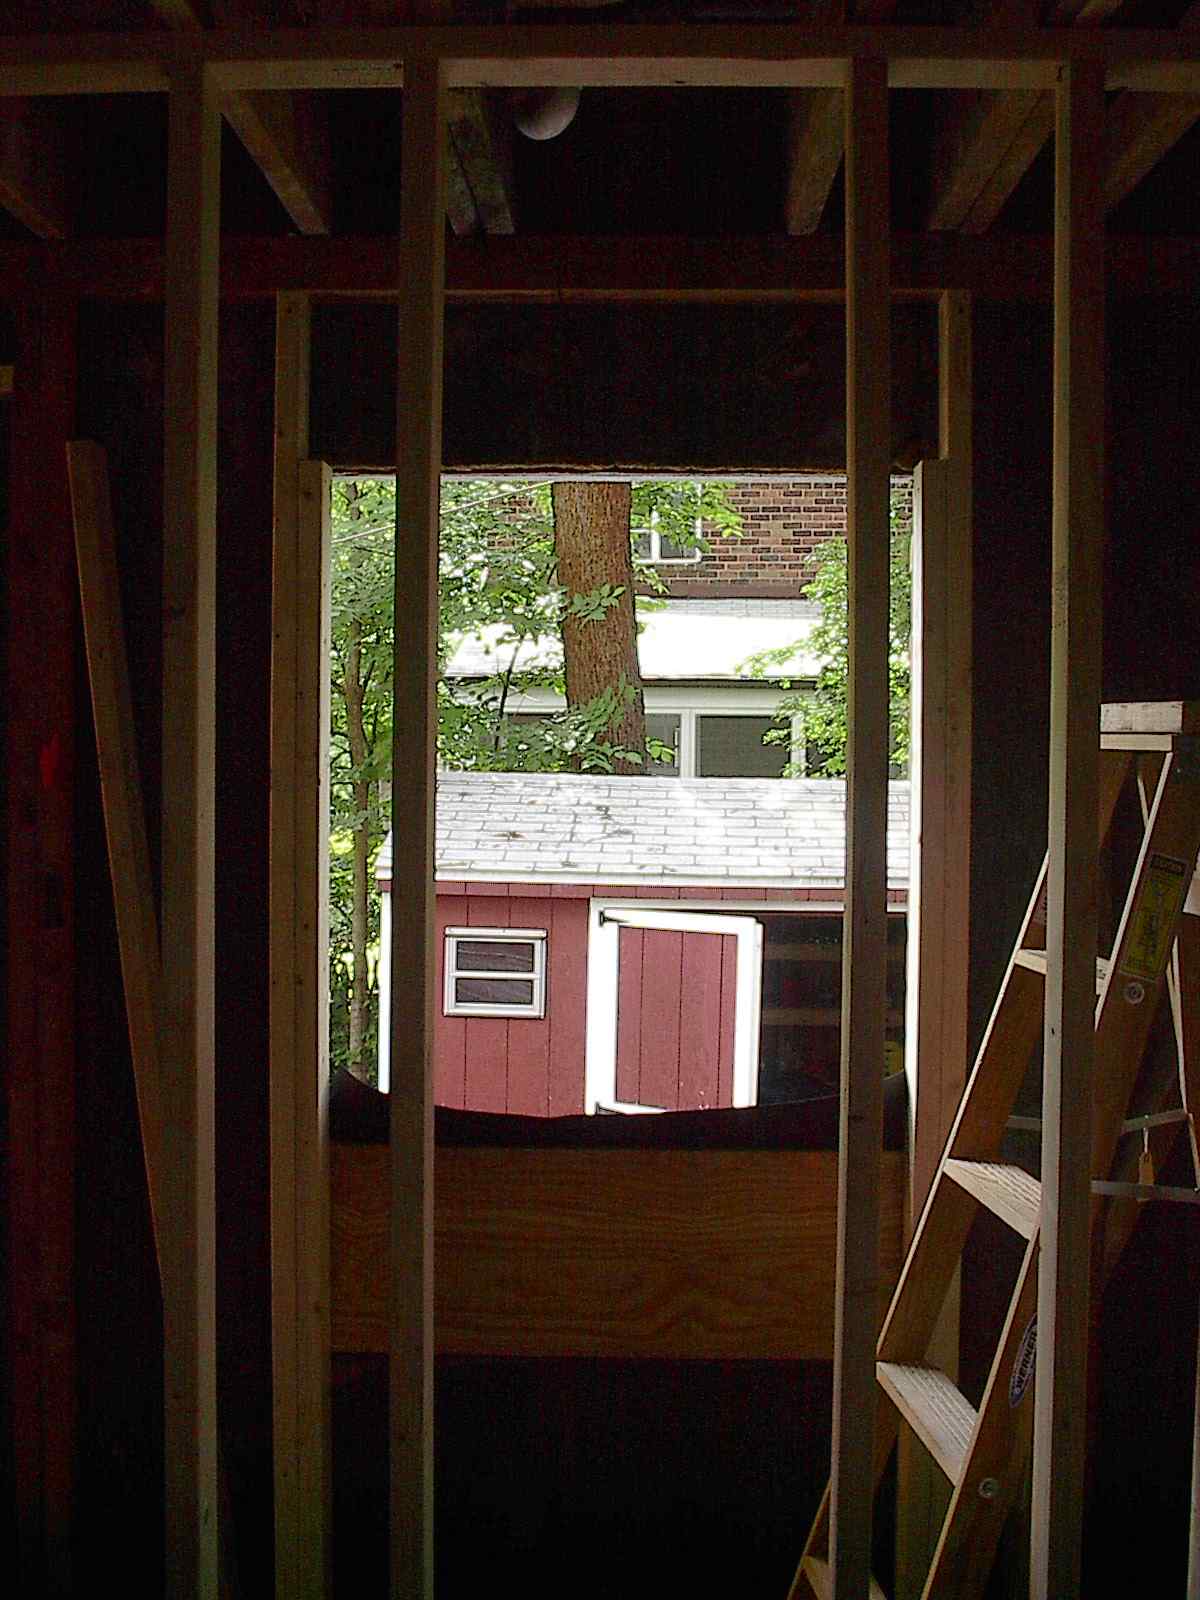
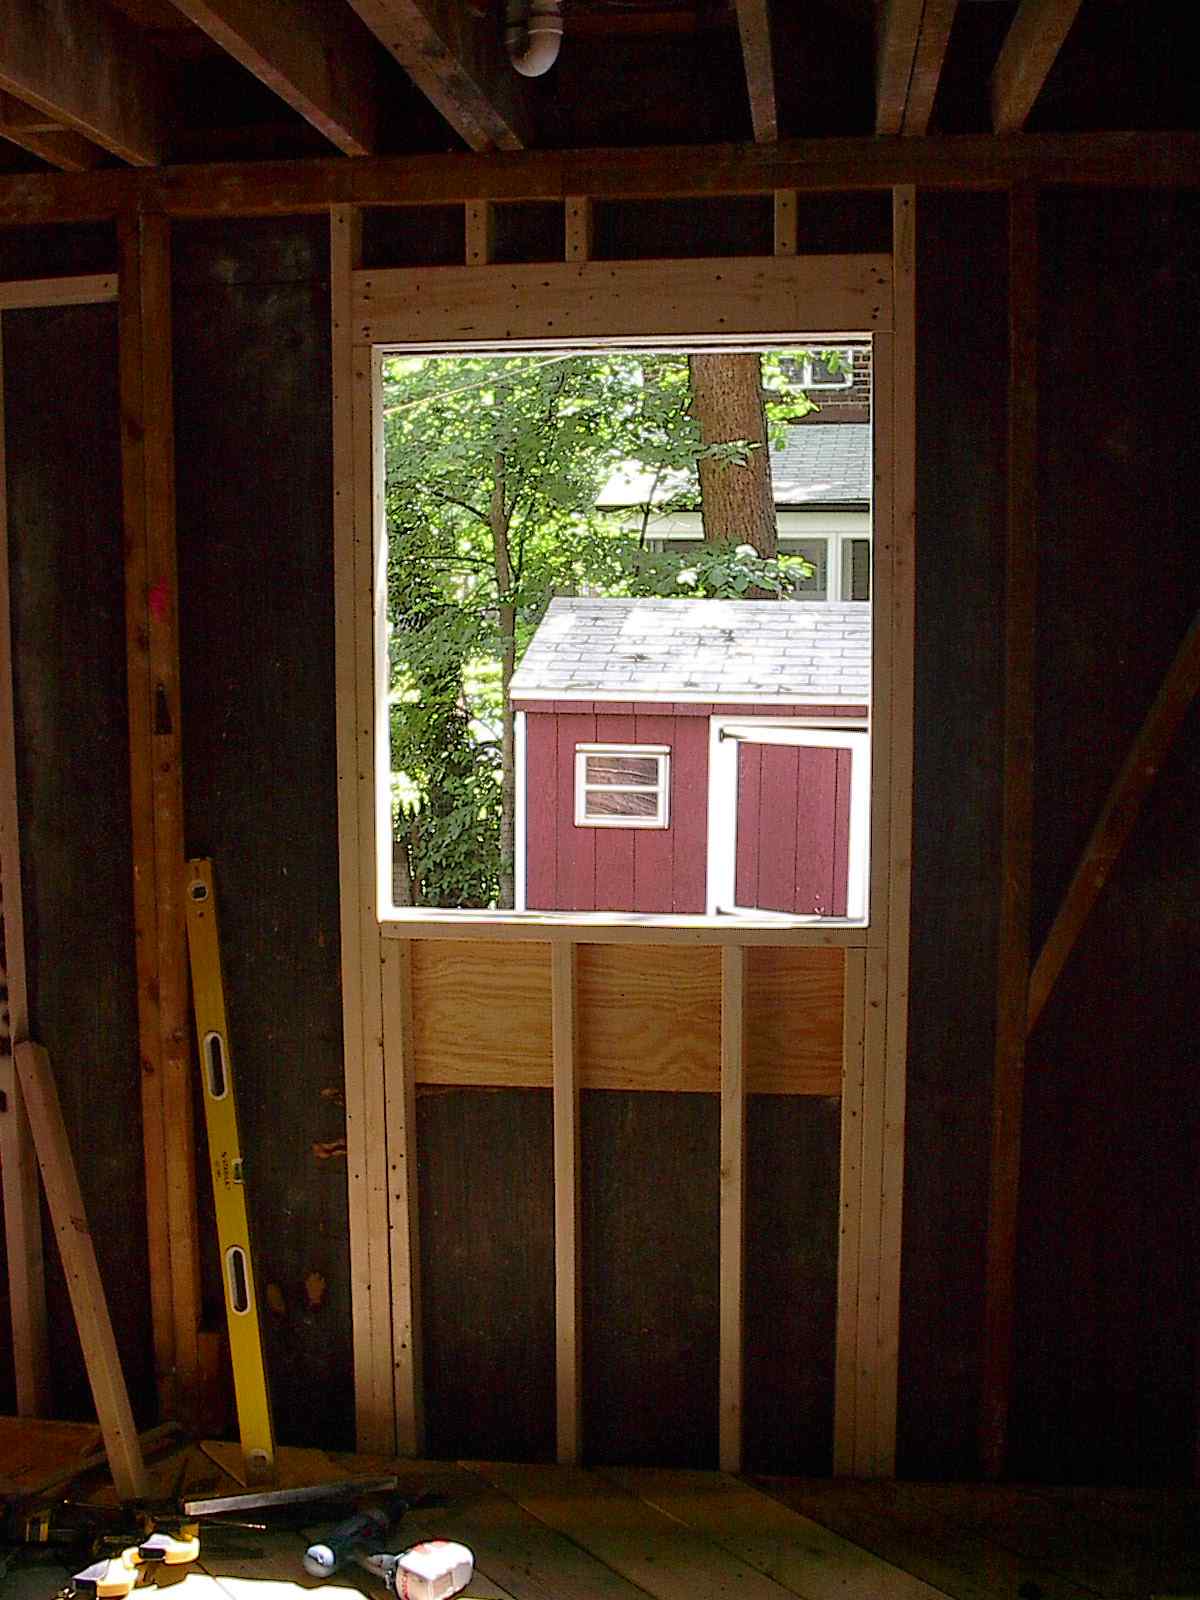
First we placed new king and trimmer studs on either side of the window. Here are pictures from the inside and the outside.

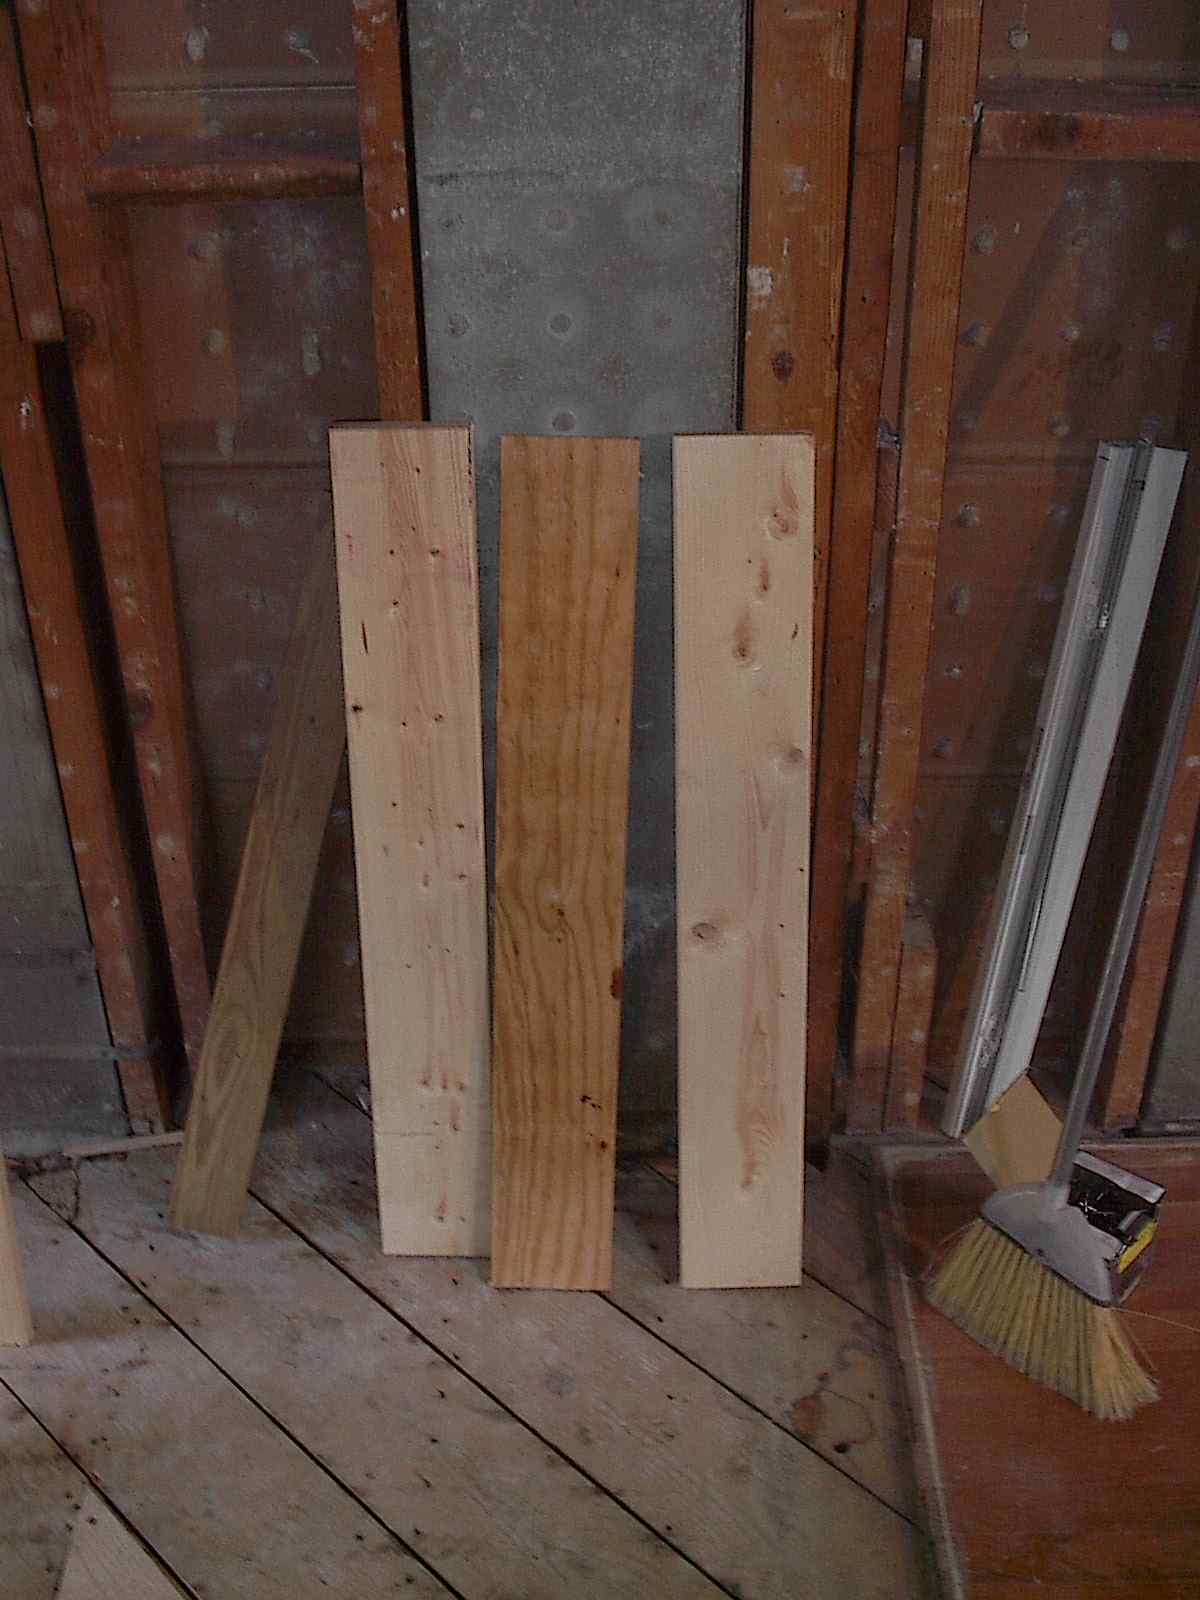
You'll notice that in the outside picture the bottom of the window opening is black. This is because the new window is shorter than the original. So the excess opening at the bottom was covered with plywood sheathing and tar paper. Next we installed the header and then the sill plate and the cripples. Here are the parts of the header before we installed them and the completed frame.
Finally we placed the new window, shimmed it into place and secured it. Here's what it looked like from the inside.
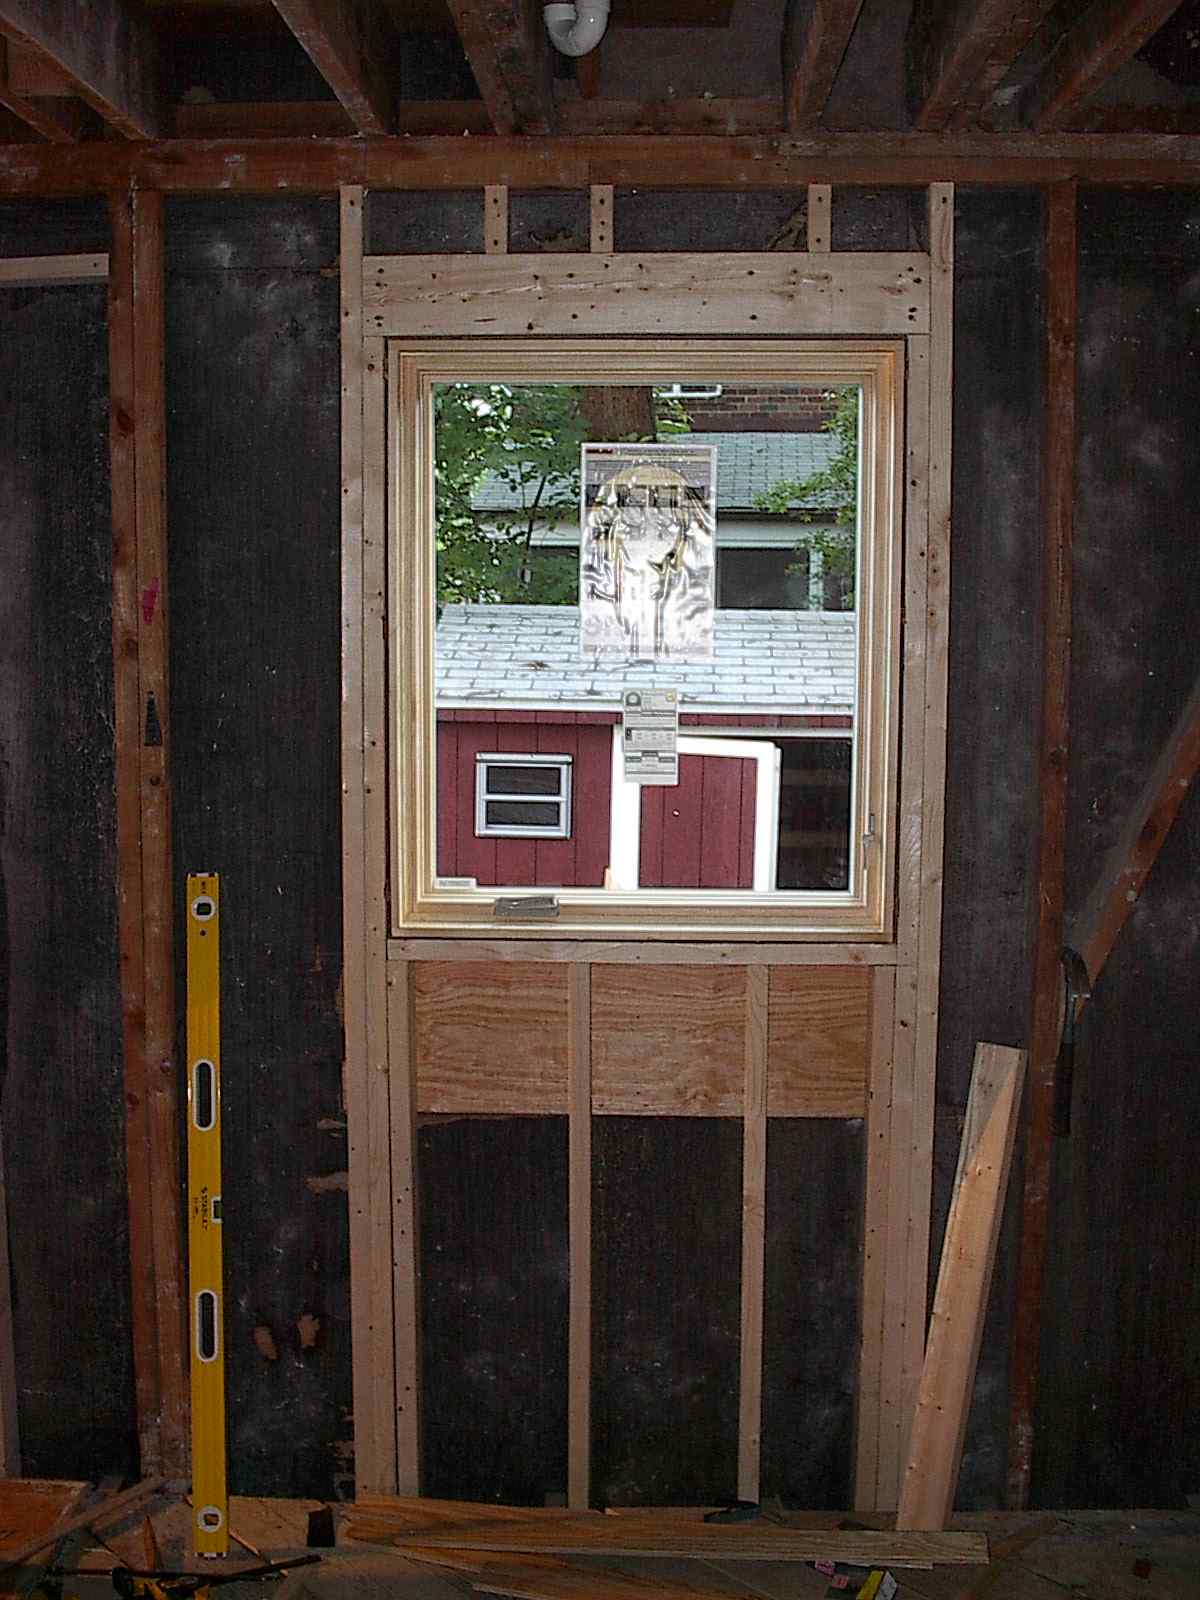
Notice anything odd in the picture?? (The ghost in the window.) Oh well, here are some pictures from the outside. You can see Lauren didn't waste any time starting to use the new window.

